
Homemade Sourdough Bread: A Beginner’s Guide to Easy Homemade Loaves
Join the course
Humblebrag raclette put a bird on it blog, fam hexagon jianbing neutra godard plaid scenester.
Homesteading 101 Starter Course
Family
Free Guide
Courses & Guides
shop with me
FAVE LINKS
Low Toxic Living
Homesteading
Homemaking
Recipes
Topics
I’m a homesteader, homemaker, milkmaid, and bread baker! This is my very own slice of the internet, dedicated to inspiring you to live old fashioned in today's modern world. I’m so excited you’re here, and can’t wait to connect with you.
Hey there! Some links on this page are affiliate links which means that, if you choose to make a purchase, I may earn a small commission at no extra cost to you. I greatly appreciate your support!
Sourdough Bread: A Beginner’s Guide
If you’re a fan of freshly baked sourdough bread with a crispy crust and a light, airy crumb, then this recipe is perfect for you. This homemade sourdough bread recipe is not only one of the simplest, but it’s also one of the best. With only 25 minutes of hands-on work and no autolyse or preferment required, you’ll be able to enjoy delicious, homemade sourdough bread in no time.
This post provides step-by-step guidance for making this simple sourdough bread recipe. Divided into 13 sections, you’ll learn everything from what sourdough bread is and how to make a sourdough starter, to troubleshooting tips and other sourdough bread recipes to try. Whether you’re a beginner or an experienced baker, this recipe is perfect for anyone looking to bake delicious sourdough bread at home.
Table of Contents
What is Sourdough Bread?
Sourdough bread is naturally leavened bread made with a sourdough starter instead of commercial yeast or chemical leavening agents. The starter is made from flour and water and contains naturally occurring wild yeast and bacteria. This gives the bread a unique tangy flavor and chewy texture.
Related Posts:
What is a Sourdough Starter?
A sourdough starter is a mixture of flour and water that has been fermented with wild yeast and bacteria, specifically lactobacilli. This mixture is what gives sourdough bread its distinct flavor and texture. A healthy and active sourdough starter is essential for making your bread rise properly.
You can choose to make your sourdough starter from scratch, but it is recommended to purchase one from a reputable source. This ensures that you have a strong and vigorous starter from the beginning, allowing you to bake with confidence. There are several online sources for reasonably priced sourdough starters, including Breadtopia, King Arthur Flour, and Cultures for Health.
Using a sourdough starter can be a fun and rewarding experience, as you experiment with different types of flour and variations in the fermentation process. With a little patience and practice, you can create delicious and healthy sourdough bread at home.

How to Feed a Sourdough Starter
Caring for a sourdough starter is similar to caring for a low maintenance pet. To keep your starter alive, you must feed it. If you bake frequently, you must feed it more regularly. However, if you don’t bake often, you can store your starter in the fridge for 2-3 weeks without feeding it.
To activate your starter, you should feed it twice before using it. Here’s what you need to do:
- Remove your starter from the fridge and discard most of it.
- Replenish it with equal parts by weight of flour and water.
- Repeat the process in the morning by discarding most of it and replenishing it with equal parts of flour and water.
- By midday, or when your starter has doubled in volume, it is ready to be used.
To store your starter, you should feed it, let it rise until it nearly doubles in volume, then cover it and stash it in the fridge for 2-3 weeks until you are ready to use it again.
It’s important to note that the weight of flour and water should be equal when feeding your starter. For example, if you add 100 grams of flour, you should add 100 grams of water.
By following these simple steps, you can keep your sourdough starter alive and healthy. Happy baking!
How Do You Know if Your Starter is Ready to be Used?
To determine if your starter is ready to be used, you should check if it has doubled or tripled in volume within 4 to 8 hours after feeding. To make it easier to track, use a rubber band to mark the height of your starter before and after feeding. When you see that it has doubled in volume, it is ready to be used.
It is important to use your starter within 4 to 8 hours after feeding, as this is when it is at its most active. If you wait too long, the activity will decrease, and your baked goods may not rise properly.
If your starter is not doubling within 4 to 8 hours, it may need to be strengthened. To do this, discard most of your starter and replenish it with equal parts flour and water by weight. Repeat this process twice a day for several days until your starter is healthy and ready to be used.
Remember, being aggressive with discarding your starter is necessary to keep it healthy and active. By following these steps, you can ensure that your starter is always ready to be used for your baking needs.

What Equipment Do You Need?
To get started with baking sourdough bread, you’ll need a few basic items: a sourdough starter, bread flour, salt, and water. Ideally, you’ll also have a digital scale, a straight-sided vessel for monitoring the bulk fermentation, a bench scraper, flour sack towels, parchment paper, a banneton, and a razor blade. For baking, a heavy lidded vessel is also recommended.
Here’s a list of the equipment you’ll need:
| Equipment | Recommended Brand/Type |
|---|---|
| Sourdough Starter | N/A |
| Flour | King Arthur Flour (bread flour) |
| Salt | Find it Here |
| Water | Find it Here |
| Digital Scale | Find it Here |
| Straight-Sided Vessel | Find it Here |
| Bench Scraper | Find it Here |
| Flour Sack Towels | Find it Here |
| Parchment Paper | Find it Here |
| Banneton | Find it Here |
| Razor Blade | Find it Here |
| Heavy Lidded Vessel | Find it Here |
Related Posts:
How to Make Sourdough Bread: A 5-Step Overview
Making sourdough bread involves five simple steps that require patience and attention to detail. Here is an overview of each step:
- Mix the Dough: In a bowl, combine water, sourdough starter, salt, and flour. Mix the ingredients together to form a sticky dough ball.
- Bulk Fermentation: During the first rise, perform a series of stretches and folds to give the dough strength and elasticity. This process takes about two hours.
- Shape + Bench Rest: After the bulk fermentation, shape the dough and let it rest. Then, shape it once more before moving on to the next step.
- Proofing the Dough: Cold proof the dough in the fridge for 24 to 48 hours. This step allows the dough to develop flavor and texture.
- Scoring + Baking the Dough: Turn the dough out onto a piece of parchment paper, score it, and transfer it to a preheated baking vessel. Bake the dough until it is golden brown and sounds hollow when tapped.
By following these five simple steps, you can make delicious sourdough bread at home. Remember to be patient and attentive throughout the process to achieve the best results.
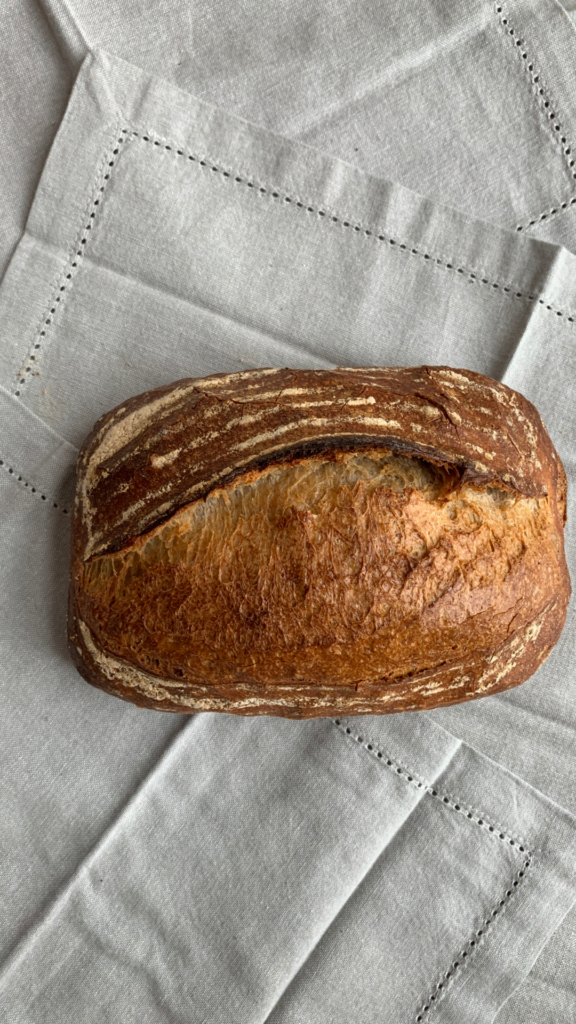
How This Sourdough Bread Recipe Differs From Others
If you have been baking sourdough bread for a while, you might have noticed that there are many ways to approach the process. This recipe, however, stands out from others in a few key ways.
No Autolyse
One way this recipe differs from others is that it does not require an autolyse. An autolyse is a technique that involves mixing flour and water and letting them sit for several hours before adding the salt and sourdough starter. This process allows gluten to develop in dough prior to mixing and makes the dough more extensible. However, this recipe skips the autolyse step. If you are after a super open crumb, autolyse is something to consider.
50% Increase in Volume
Another way this recipe differs from others is that it requires the bulk fermentation to be stopped when the dough has increased by 50-75% in volume. This is different from the yeast-leavened bread world where you are accustomed to letting your dough double in volume during the first rise. By stopping the bulk fermentation earlier, you can prevent overfermentation and achieve a better oven spring.
Long Cold Proof
After the bulk fermentation, this recipe requires you to shape the dough and store it in the fridge for ideally 24 hours, but it can hang out there for 48 hours or even a bit longer. This long, cold proof will make for a much lighter, open, airy crumb. If you leave the dough in the fridge for 12 hours or less, the crumb will be tighter and denser. Once you remove the dough from the fridge, you can score it and transfer it immediately to the oven. There is no need to do a room temperature proof first.
By following this recipe, you can achieve a unique texture and flavor in your sourdough bread. Give it a try and see how it compares to other recipes you have tried!
Related Posts:
Simple Sourdough Bread: A Step-by-Step Guide
Mix the Dough
To make a delicious sourdough bread, you’ll need to start by mixing the dough. In a large bowl, pour in 355 grams of water and add 50 to 100 grams of sourdough starter. Stir to combine, then add 10 grams of salt and finally add 500 grams of bread flour. Mix well until the dough is fully combined.
Let it Rise (Bulk Fermentation)
Once the dough is mixed, transfer it to a straight-sided vessel and cover it. Let it rest for 30 minutes. After 30 minutes, perform a set of stretches and folds every 30 minutes for the first 2 hours. If time permits, perform four total sets of stretches and folds. You should notice the dough getting stronger and more elastic with every set of stretches and folds. After the fourth set of stretches and folds, cover the vessel and set it aside until it increases in volume by about 50%.
The time it takes for the bulk fermentation to complete will vary depending on the strength of your starter and the temperature of your kitchen. Rather than rely on a time period, you should rely on visual cues.
Shaping
Once the dough has risen, turn it out onto a lightly floured work surface and shape it gently into a round. Let it rest for 20-40 minutes, which is called the bench rest. Meanwhile, prepare a bowl or banneton with a flour sack towel and rice flour.
Proofing
Shape the round again and place it in the prepared bowl for proofing. Transfer the bowl to the fridge and let it proof for 12 to 48 hours.
Bake It
When you’re ready to bake the bread, remove the bowl from the fridge and turn it out onto a sheet of parchment paper. Score the bread and transfer it to a preheated Dutch oven. Bake covered at 450ºF for 30 minutes, then uncover, lower the temperature to 400ºF, and bake for 15 minutes more. Remove from the oven and let cool for one hour before slicing.
To slice the bread, you’ll need a sharp knife. A bread knife like this one or this one is perfect for the job.
Follow these simple steps and you’ll have a delicious loaf of sourdough bread that’s sure to impress.

#1 Sourdough Bread Baking Tip
When making sourdough bread, the bulk fermentation process is crucial to achieving the perfect texture and flavor. However, it’s easy to make the mistake of letting the dough ferment for too long, resulting in an over-fermented and sticky mess. To prevent this, the refrigerator can be your best friend.
After completing the 4 sets of stretches and folds, you can put your dough in the fridge at any time. This is especially helpful if you need to go to bed or step out for a few hours. Simply transfer the dough to the refrigerator and pick up where you left off in the morning.
To ensure that you don’t over-ferment your dough, invest in a straight-sided vessel like the 4-qt Cambro or the BPA-free version. This will allow you to accurately gauge when your dough has risen to roughly 50% in volume. When dough rises in a bowl, it can be difficult to determine when it has risen sufficiently, but with a straight-sided vessel, there’s no question.
By using your refrigerator and investing in a straight-sided vessel, you can ensure that your sourdough bread comes out perfectly every time. So don’t be afraid to take advantage of this simple and effective tip to elevate your bread baking game.
Troubleshooting: Where Sourdough Goes Wrong?
Baking sourdough bread can be a finicky process, and sometimes things just don’t go as planned. If you’re experiencing issues with your sourdough, it’s likely due to one of four common mistakes.
Firstly, using a weak starter or not using your starter at its peak can result in a lack of rise and a dense, heavy loaf. Secondly, using too much water relative to the flour can lead to a sticky, unmanageable dough. Thirdly, over fermentation during the bulk fermentation stage can result in a sourdough that is too sour or even collapsed. Lastly, using too much whole wheat flour, rye flour, or freshly milled flour can result in a dense and heavy loaf.
If you’re experiencing any of these issues, be sure to check out our post “Why is my sourdough so sticky? 4 Common Mistakes” for more in-depth troubleshooting and solutions. Remember to always use a healthy and active starter, measure your ingredients accurately, and keep an eye on your dough during fermentation to ensure a successful sourdough bake.
Other Sourdough Bread Recipes to Make
Looking to expand your sourdough bread baking recipes? Try out these recipes:
- Get Baking Today: Beginner Sourdough Starter Recipe
- Ingredients for Better Sourdough: Tips and Tricks for a Perfect Loaf
- Sourdough Bread: A Beginner’s Guide to Delicious Homemade Loaves
- Bulk Ferment vs Cold Ferment: Which is Better for Your Bread Dough?
- Can Sourdough Starter Go Bad? Tips for Keeping Your Starter Fresh
- Long Fermented Sourdough Bread: A Guide to Achieving Perfectly Tangy Loaves
- Should you Clean your Sourdough Starter Jar?
- Purchase all of my Sourdough Supplies Here!
Each recipe offers a unique twist on classic sourdough bread. Give them a try and impress your taste buds!
Sourdough Bread Baking Schedule
Stumped by Sourdough?
If you are new to sourdough bread baking, it can be challenging to figure out the timing of everything. You may find yourself asking, “How can I do this without baking at midnight?” The answer is simple: use your refrigerator. After you’ve performed your stretches and folds, if you don’t have time to stay up for the dough to complete the bulk fermentation, stick the vessel in the fridge and pick up where you left off the next day or the day after that.
Here is a rough schedule that you can follow for sourdough bread baking. Adapt it to work for you:
- Wednesday Evening: Remove starter from the fridge. Feed it by discarding most of it and replenishing it with equal parts by weight flour and water.
- Thursday Morning: Feed starter by discarding most of it and replenishing it with equal parts by weight flour and water.
- Thursday Afternoon: Mix dough, let it rise. On Thursday evening, when the dough has completed the bulk fermentation, shape it and stick it in the fridge to proof. If the dough hasn’t completed the bulk fermentation, stick the vessel in the fridge and pick up where you left off the following day.
- Friday Evening or Saturday Morning: Score and bake it. There is no need to let the dough come to room temperature before baking it. Simply remove it from the fridge, turn it out, score it, and bake it!
Notes
- You need an active sourdough starter. You can activate starters from King Arthur Flour and Breadtopia.
- Always invest in a digital scale before beginning any bread baking adventure.
- Use a straight-sided vessel to monitor the bulk fermentation.
- Flour sack towels are a great investment because they ensure your dough will not stick while it is proofing.
- Use rice flour for dusting because it doesn’t burn.
- If you’re looking to get a more open crumb, try shaping a batard.
- When determining how much starter to use, consider a few things: If you live in a warm, humid environment, 50 g should suffice. If you plan on doing an overnight rise, 50 g also should suffice. If you want to speed things up or if you live in a cold environment, consider using 100 g starter.
- A Dutch oven is recommended for sourdough bread baking.
- I love a high-hydration dough, and I have great success using 350 -380 grams of water in this recipe, so feel free to play around and push the hydration here.
- Salt: I have had success using both kosher salt and fine sea salt here. Regardless of the brand, I use 10 grams.
- If you use 100 g of starter, your dough may rise more quickly, so keep an eye on it. As always, rely on the visual cues (increasing in volume by 50%) when determining when the bulk fermentation is done.
- 50 – 100 g (1⁄4 – 1/2 cup) bubbly, active starter — I always use 100 grams, see notes above
- 350 -380 g (1 1/2 cups plus 1 tbsp) warm water, or more, see notes above
- 500 g (4 cups plus 2 tbsp) bread flour
- 9 to 12 g (1.5 – 2.5 teaspoons) fine sea salt, see notes above
Follow the steps below to make the dough:
- Whisk the starter and water together in a large bowl with a fork or spatula. Add the flour and salt. Mix to combine, finishing by hand if necessary to form a rough dough. Cover with a damp towel and let rest for 30 minutes.
- After 30 minutes, grab a corner of the dough and pull it up and into the center. Repeat until you’ve performed this series of folds 4 to 5 times with the dough. Let dough rest for another 30 minutes and repeat the stretching and folding action. If you have the time: do this twice more for a total of 4 times in 2 hours.
- Cover the bowl with a towel and let rise at room temperature, about 8 to 10 hours at 70°F (21°C) or even less if you live in a warm environment. The dough is ready when it has increased by 50% in volume, has a few bubbles on the surface, and jiggles when you move the bowl from side to side.
- Coax the dough onto a lightly floured surface. Gently shape it into a round: fold the top down to the center, turn the dough, fold the top down

Frequently Asked Questions – Sourdough Bread: A Beginner’s Guide
What are the essential ingredients for making sourdough bread?
To make sourdough bread, you will need flour, water, and a sourdough starter. The flour can be any type, but many bakers prefer to use high-protein bread flour or a combination of bread flour and whole wheat flour. For the water, it’s best to use filtered or bottled water to avoid any chlorine or other chemicals that can inhibit the growth of the yeast in the starter. Finally, the sourdough starter is a mixture of flour and water that has been fermented by wild yeast and bacteria. It’s what gives sourdough bread its unique flavor and texture.
How do I create a sourdough starter from scratch?
Creating a sourdough starter from scratch is relatively simple, but it does require some patience. To make a starter, you will need flour and water. Mix equal parts of flour and water in a jar or container and cover it with a cloth or lid that’s not airtight. Leave it at room temperature for 24 hours, then discard half of the mixture and feed it with equal parts of flour and water. Repeat this process every day for about a week, and you should start to see bubbles forming in the mixture. Once your starter is active, you can use it to make sourdough bread.
Can you share a basic sourdough bread recipe for beginners?
Certainly! Here’s a simple recipe for making sourdough bread:
- 500g bread flour
- 350g water
- 100g active sourdough starter
- 10g salt
Mix the flour and water together in a bowl, then add the sourdough starter and salt. Knead the dough for about 10 minutes, then cover it and let it rest for 6-8 hours. After the dough has risen, shape it into a loaf and let it rise again for another 2-3 hours. Finally, bake the bread in a preheated oven at 450°F for 30-40 minutes.
What are some common mistakes to avoid when baking sourdough bread?
One common mistake is using a starter that’s not active enough. If your starter isn’t bubbling and growing, it won’t be able to leaven the bread properly. Another mistake is overproofing the dough, which can cause it to collapse in the oven. It’s also important to use the right amount of salt and to bake the bread at the correct temperature.
How can I make sourdough bread without using a commercial starter?
You can make a sourdough starter from scratch, as mentioned earlier, by mixing flour and water and letting it ferment naturally. You can also try using wild yeast from the air by leaving a mixture of flour and water uncovered outside for a few hours to collect wild yeast. Once you have an active starter, you can use it to make sourdough bread without relying on a commercial starter.
What tips can you offer for achieving the perfect sourdough crust and crumb?
To achieve a crispy crust, try baking the bread in a Dutch oven or other covered pot to trap steam and create a moist environment. You can also brush the dough with water or egg wash before baking to help create a shiny crust. For a chewy, open crumb, use a high-hydration dough (meaning there’s a lot of water in the dough) and let it rise slowly at a cool temperature. Finally, be patient and experiment with different techniques until you find the perfect method for your taste.
RELATED POSTS:
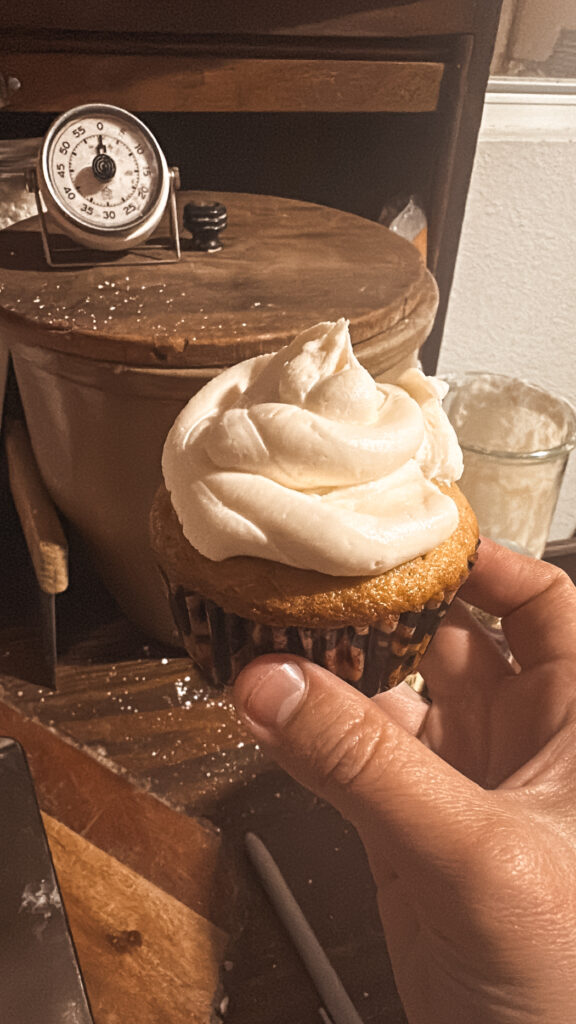
- Sourdough Vanilla Cupcakes: A Twist on the Classic Treat
- Easy Homemade Biscuits: Quick & Delicious Recipes for Beginners

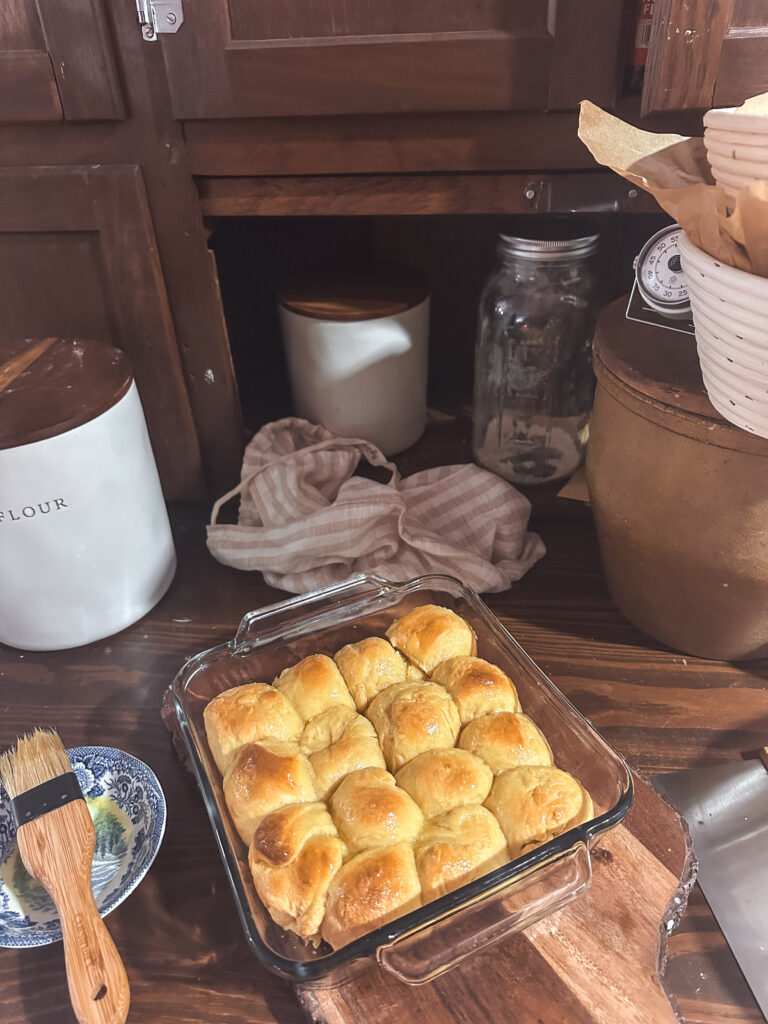
- Soft Dinner Rolls: Your Guide to Fluffy, Perfect Bakes
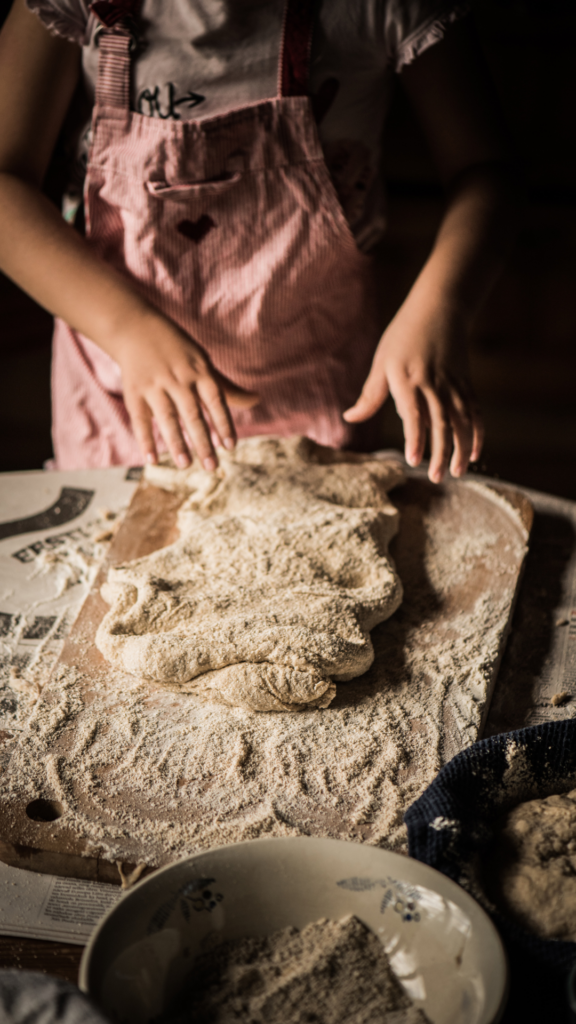
- How to Knead Dough: A Step-by-Step Guide for Perfect Bread
- SALT & STONE Deodorant Review: A Natural Deodorant?
- Sandwich Bread Recipe: The Perfect Loaf for Your Daily Sandwiches
Explore Reader
SHOP
Fitbit Versa 2 Health & Fitness Smartwatch
SHOP
Bamboo Nesting storage boxes
SHOP
Ilia Super Serum Skin Tint SPF 40
SHOP
Ninja Max XL Electric Air FryeR
SHOP
Cuisinart 15-Piece Knife Set with Block
SHOP
Muse Bath Apothecary Hand Ritual
SHOP
Martha Stewart 100% Cotton Bath Towels
SHOP
Eozlink Fluffy Fur Slides
Leave a Reply Cancel reply
Watch me clean my home




Be the first to comment