Join the course
Humblebrag raclette put a bird on it blog, fam hexagon jianbing neutra godard plaid scenester.
Homesteading 101 Starter Course
Family
Free Guide
Courses & Guides
shop with me
FAVE LINKS
Low Toxic Living
Homesteading
Homemaking
Recipes
Topics
I’m a homesteader, homemaker, milkmaid, and bread baker! This is my very own slice of the internet, dedicated to inspiring you to live old fashioned in today's modern world. I’m so excited you’re here, and can’t wait to connect with you.
How long to Proof Sourdough at Room Temp
Recently, there has been a surge in the popularity of sourdough bread due to its distinctive flavor, texture, and health advantages. In the process of making sourdough bread, proofing plays a vital role as it permits the dough to rise prior to baking.
The duration and temperature of the proofing stage hold immense importance in the development of the characteristic sourdough flavor and the attainment of the desired texture.
In this post, I will explore the time required to proof sourdough at room temperature, factors influencing proofing time, useful tips for achieving optimal proofing, and indicators that indicate when your dough is ready for baking. Keep reading to learn how long to proof sourdough at room temp.
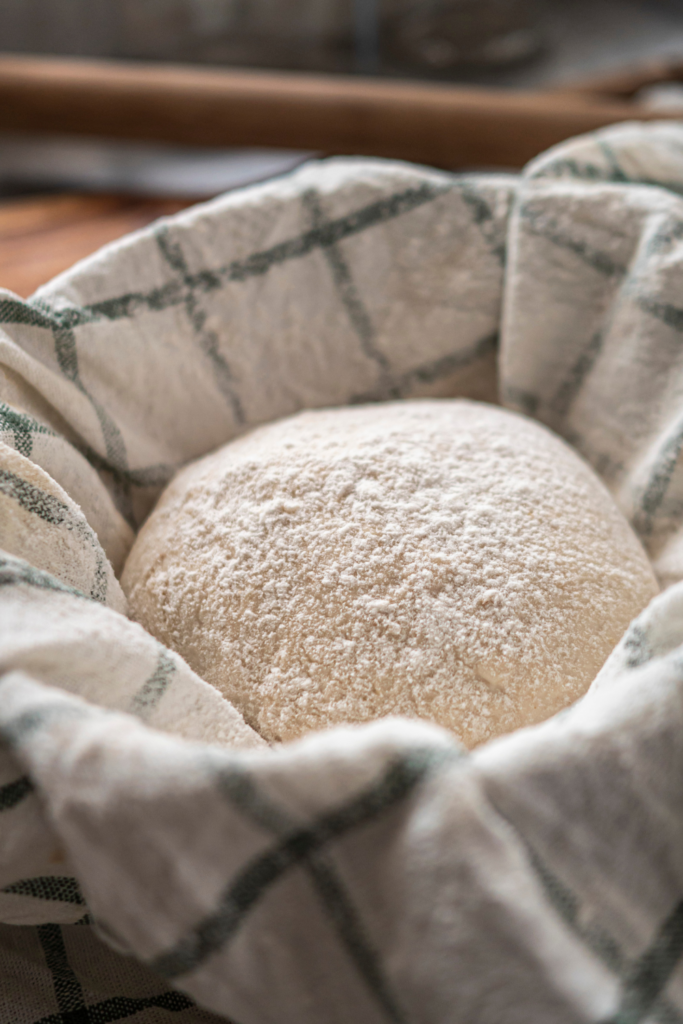
Table of Contents
How Long to Proof Sourdough At Room Temp?
Typically, sourdough bread is proofed at room temperature for a duration of 3 to 4 hours. However, there are variations among bakers, with some opting for longer proofing periods of up to 18 hours, while others prefer a shorter time.
The proofing time for sourdough bread at room temperature can be influenced by several factors, such as the room’s temperature, the hydration of the dough, and the strength of the sourdough starter
It is crucial to monitor the dough’s progress throughout the proofing process and make adjustments to the time as needed. A well-proofed sourdough will exhibit visible signs of puffiness, and increased volume, and pass the “poke test.”
Ultimately, determining the ideal proofing time for sourdough depends on your specific recipe, personal preference, and the environmental conditions in which you are baking.
What is proofing and why is it important?
Proofing is an essential step in the production of sourdough bread as it enables the dough to rise before baking.
During the proofing process, the dough undergoes fermentation, generating carbon dioxide that causes the dough to rise and imparts a distinctive flavor, texture, and aroma to the bread.
This crucial process allows the sourdough bread to develop its unique flavors, achieve proper rising, and create the desired texture.
By ensuring adequate proofing, the bread obtains a well-structured crumb, avoiding excessive density or heaviness.
Without the proofing stage, sourdough bread would lack volume, appear flat, and lack the intricate flavors and textures that are characteristic of this beloved bread.
How to tell when your sourdough is ready to bake
There are a couple of ways to determine if your sourdough dough is ready for baking.
One indication is the visible evidence of fermentation, where the dough has risen and become visibly puffy. Additionally, you can perform the “poke test” by gently poking the dough with your finger.
If the indentation made by your finger remains in the dough, it is a clear indication that the dough is ready for baking.
Furthermore, the dough should have increased in volume by approximately 20-30% from its original size and possess a light and airy texture.
Overall, closely monitoring the dough during the proofing process is crucial to ensure it has undergone proper fermentation and is prepared for baking.
Can you over Proof sourdough?
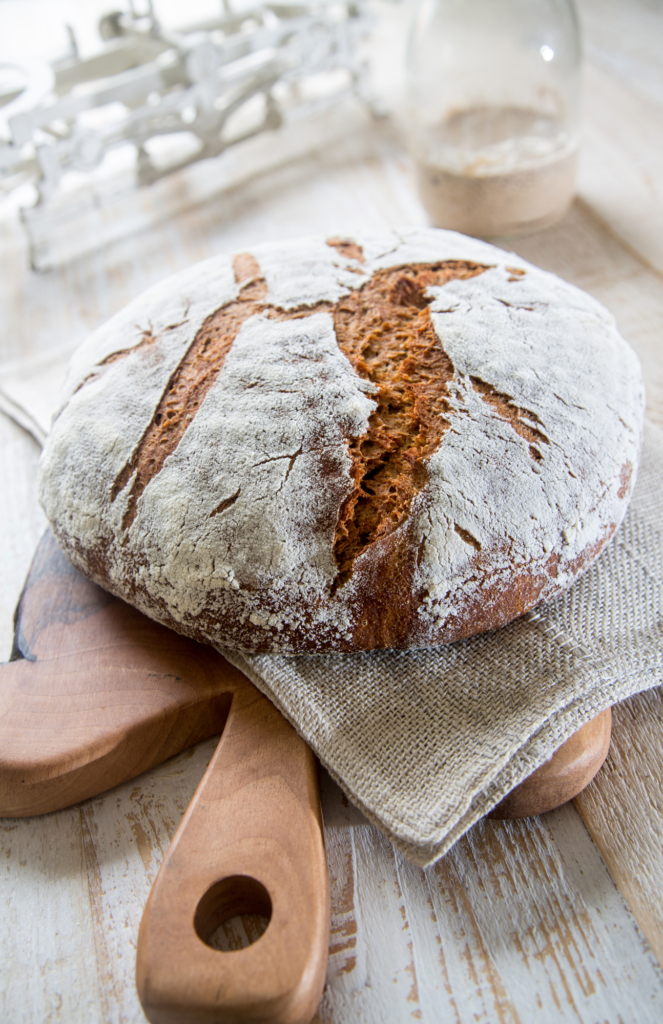
It is possible to overproof sourdough dough. However, allowing the dough to proof for an excessive duration can lead to undesirable outcomes. Overproofed dough may result in a bread loaf that is flat, dense, or excessively sour.
Furthermore, the dough’s structure can weaken, making it too sticky or challenging to handle during shaping and baking.
It is crucial to find the right balance and closely monitor the proofing process to avoid over-proofed bread and achieve the desired texture and flavor in your sourdough bread.
Excessive proofing can cause the gluten structure in the dough to break down, leading to an undesirable texture in the final product.
To prevent over-proofing, it is crucial to carefully observe the dough throughout the proofing process and make necessary adjustments to the proofing time.
Various factors, including different temperatures, dough hydration, and starter strength, can influence the proofing time. Therefore, it is important to remain flexible and adapt the proofing duration based on the dough’s progress.
A properly proofed dough will display visible signs of puffiness, and increased volume, and pass the “poke test,” indicating that it is ready for the next stage.
How to control proofing sourdough
To attain optimal results when making sourdough bread, there are several measures you can take to regulate the proofing process effectively.
Firstly, it is crucial to maintain a consistent room temperature. Aim for a temperature range of approximately 70-75°F (21-24°C) for the best outcomes.
The cold temperature can cause the dough to proof slowly, whereas excessively warmer temperatures can lead to over-proofing. Regularly monitoring the bread dough’s progress and the dough temperature during the proofing phase is vital, ensuring it rises appropriately.
Covering the dough with a damp towel can prevent it from drying out throughout the proofing process.
Additionally, you can adjust the proofing time based on the dough’s advancement, either shortening or lengthening the amount of time it as required.
An overnight rise could cause your dough to flatten and not hold its shape, a shorter period could lead to it not being ready to be baked and the crumb will be gummy instead of having an airy crumb.
Finally, it is important to utilize a robust and healthy sourdough starter while maintaining a consistent level of dough hydration. These factors contribute to achieving best results.
By attentively considering these elements, you can effectively control the proofing process and attain a delightful, well-risen loaf of sourdough bread.
FAQ
How long does it take for shaped dough to proof?
After shaping, the proofing time for sourdough typically ranges from 1 to 3 hours at room temperature. However, some bakers may opt for a longer proofing period or choose a lower temperature for the process.
During this time, it is crucial to observe the dough’s progress and make necessary adjustments to ensure it is properly proofed before baking. The proofing duration may vary based on factors such as dough consistency, ambient temperature, and recipe specifications.
When it comes to the temperature for sourdough bulk fermentation, the ideal range is typically between 72-78°F (22-25°C). This temperature range allows the dough rise at a moderate pace, resulting in excellent results, texture, and flavor in the final bread.
Remember that these guidelines provide a general direction, and variations may occur depending on individual recipes, preferences, and environmental conditions. Adjustments can be made based on the specific requirements of the sourdough bread recipe.
Buy my sourdough starter HERE and get started baking right away!
How long does it take to proof sourdough in the banneton?
Generally, the dough can take 2 to 4 hours to proof in the banneton at room temperature. The time it takes to proof sourdough in the proofing basket can vary depending on several factors, including the room’s temperature, the dough’s hydration, and the sourdough starter’s strength.
Check out the Latest Posts!
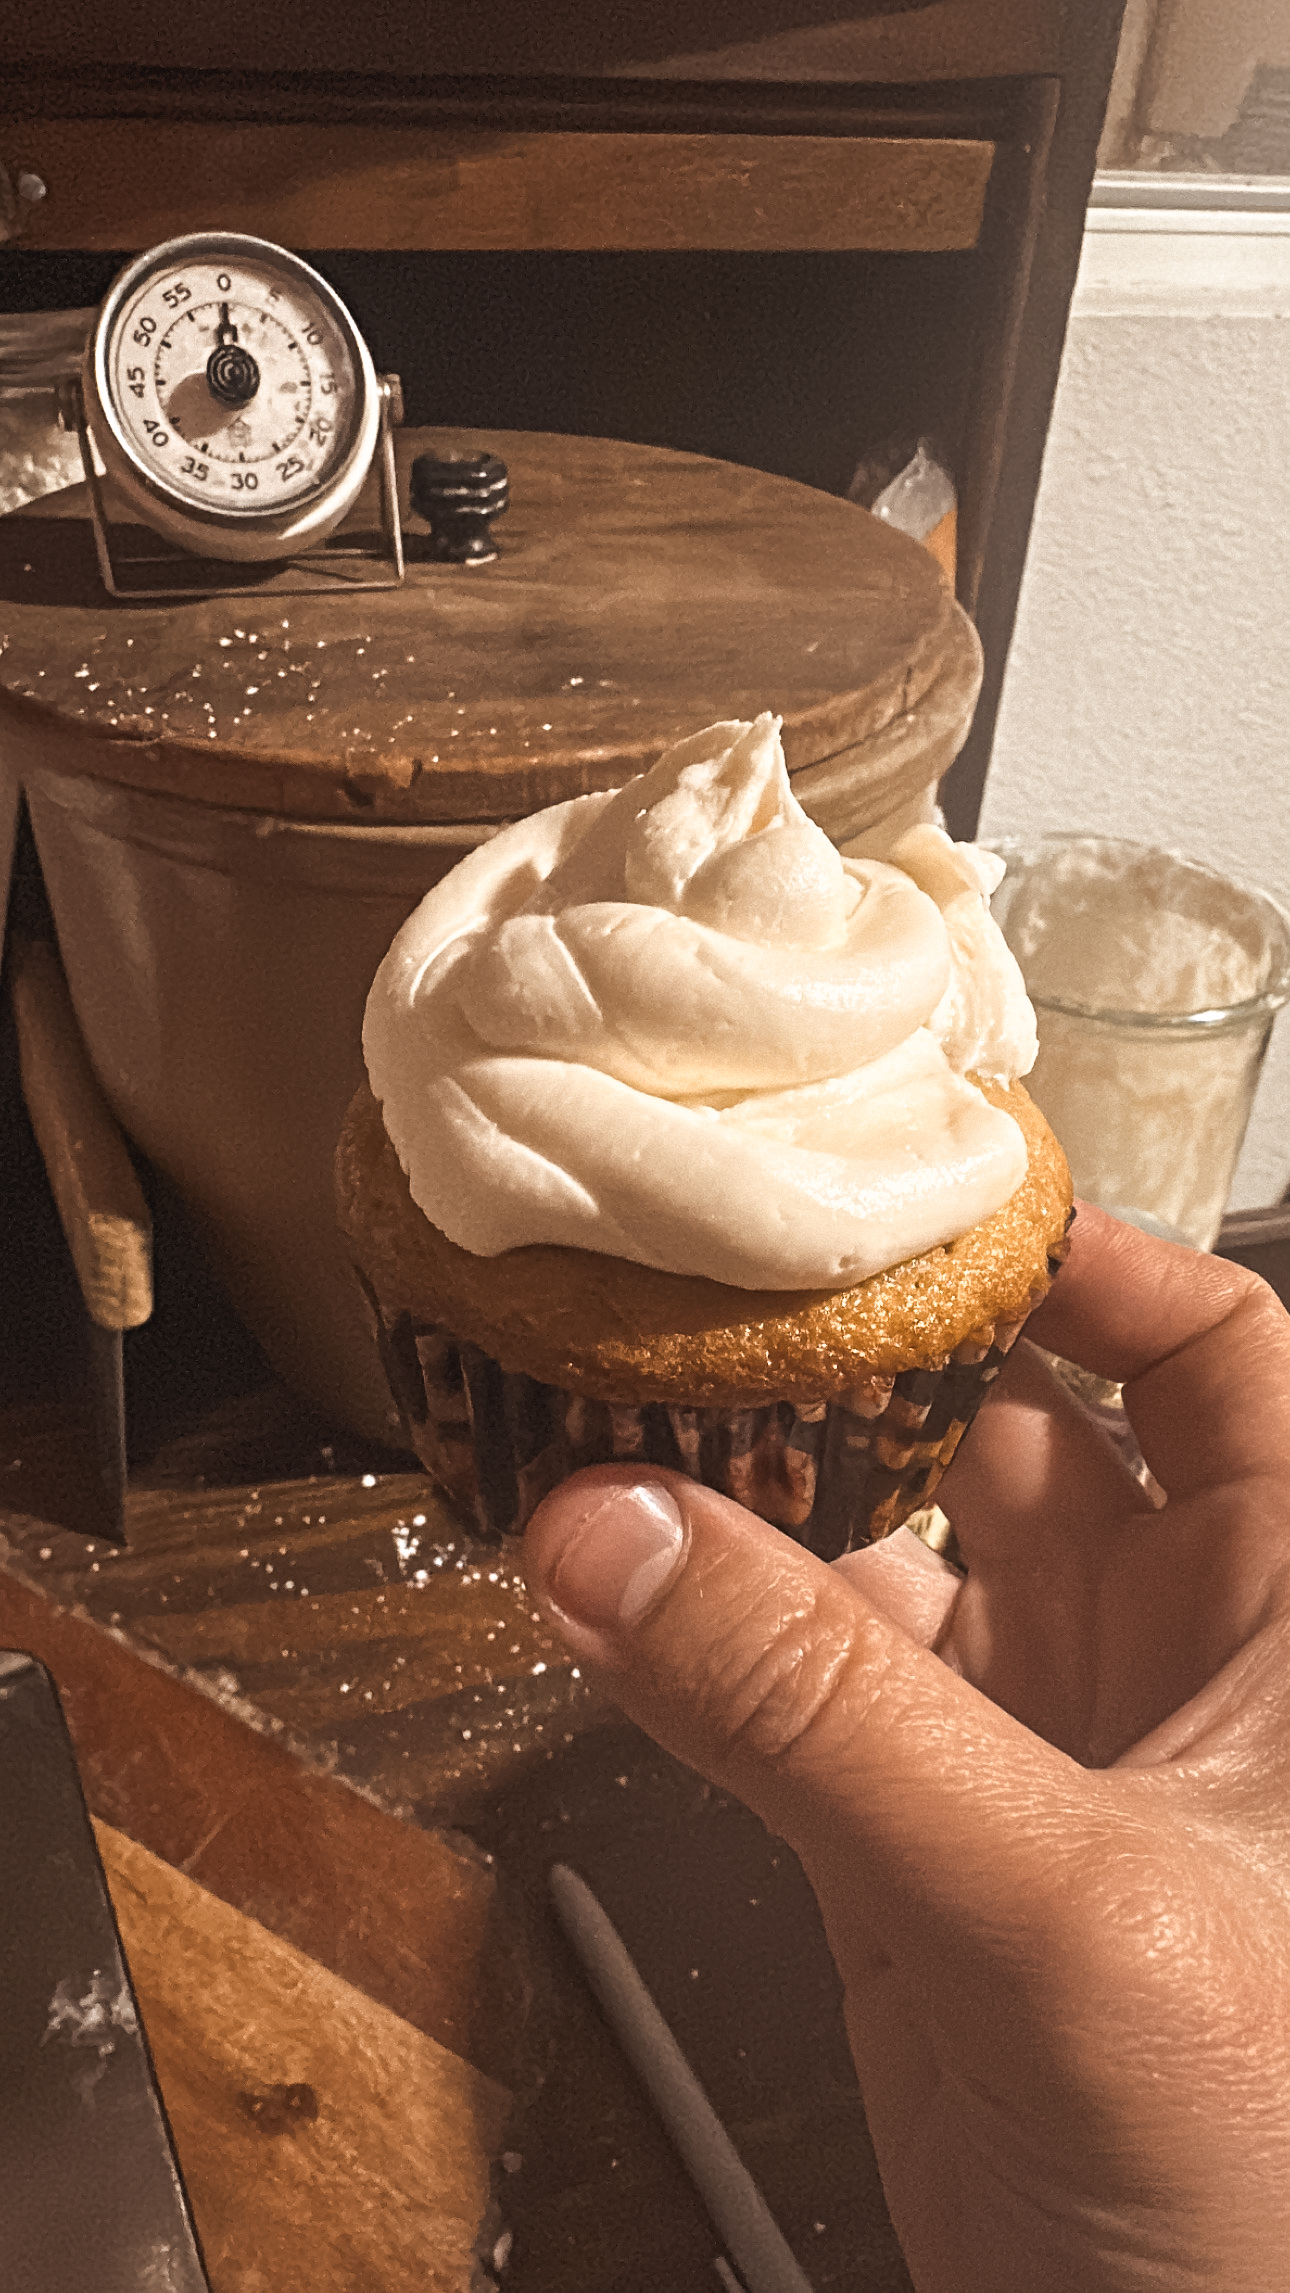
- Sourdough Vanilla Cupcakes: A Twist on the Classic Treat

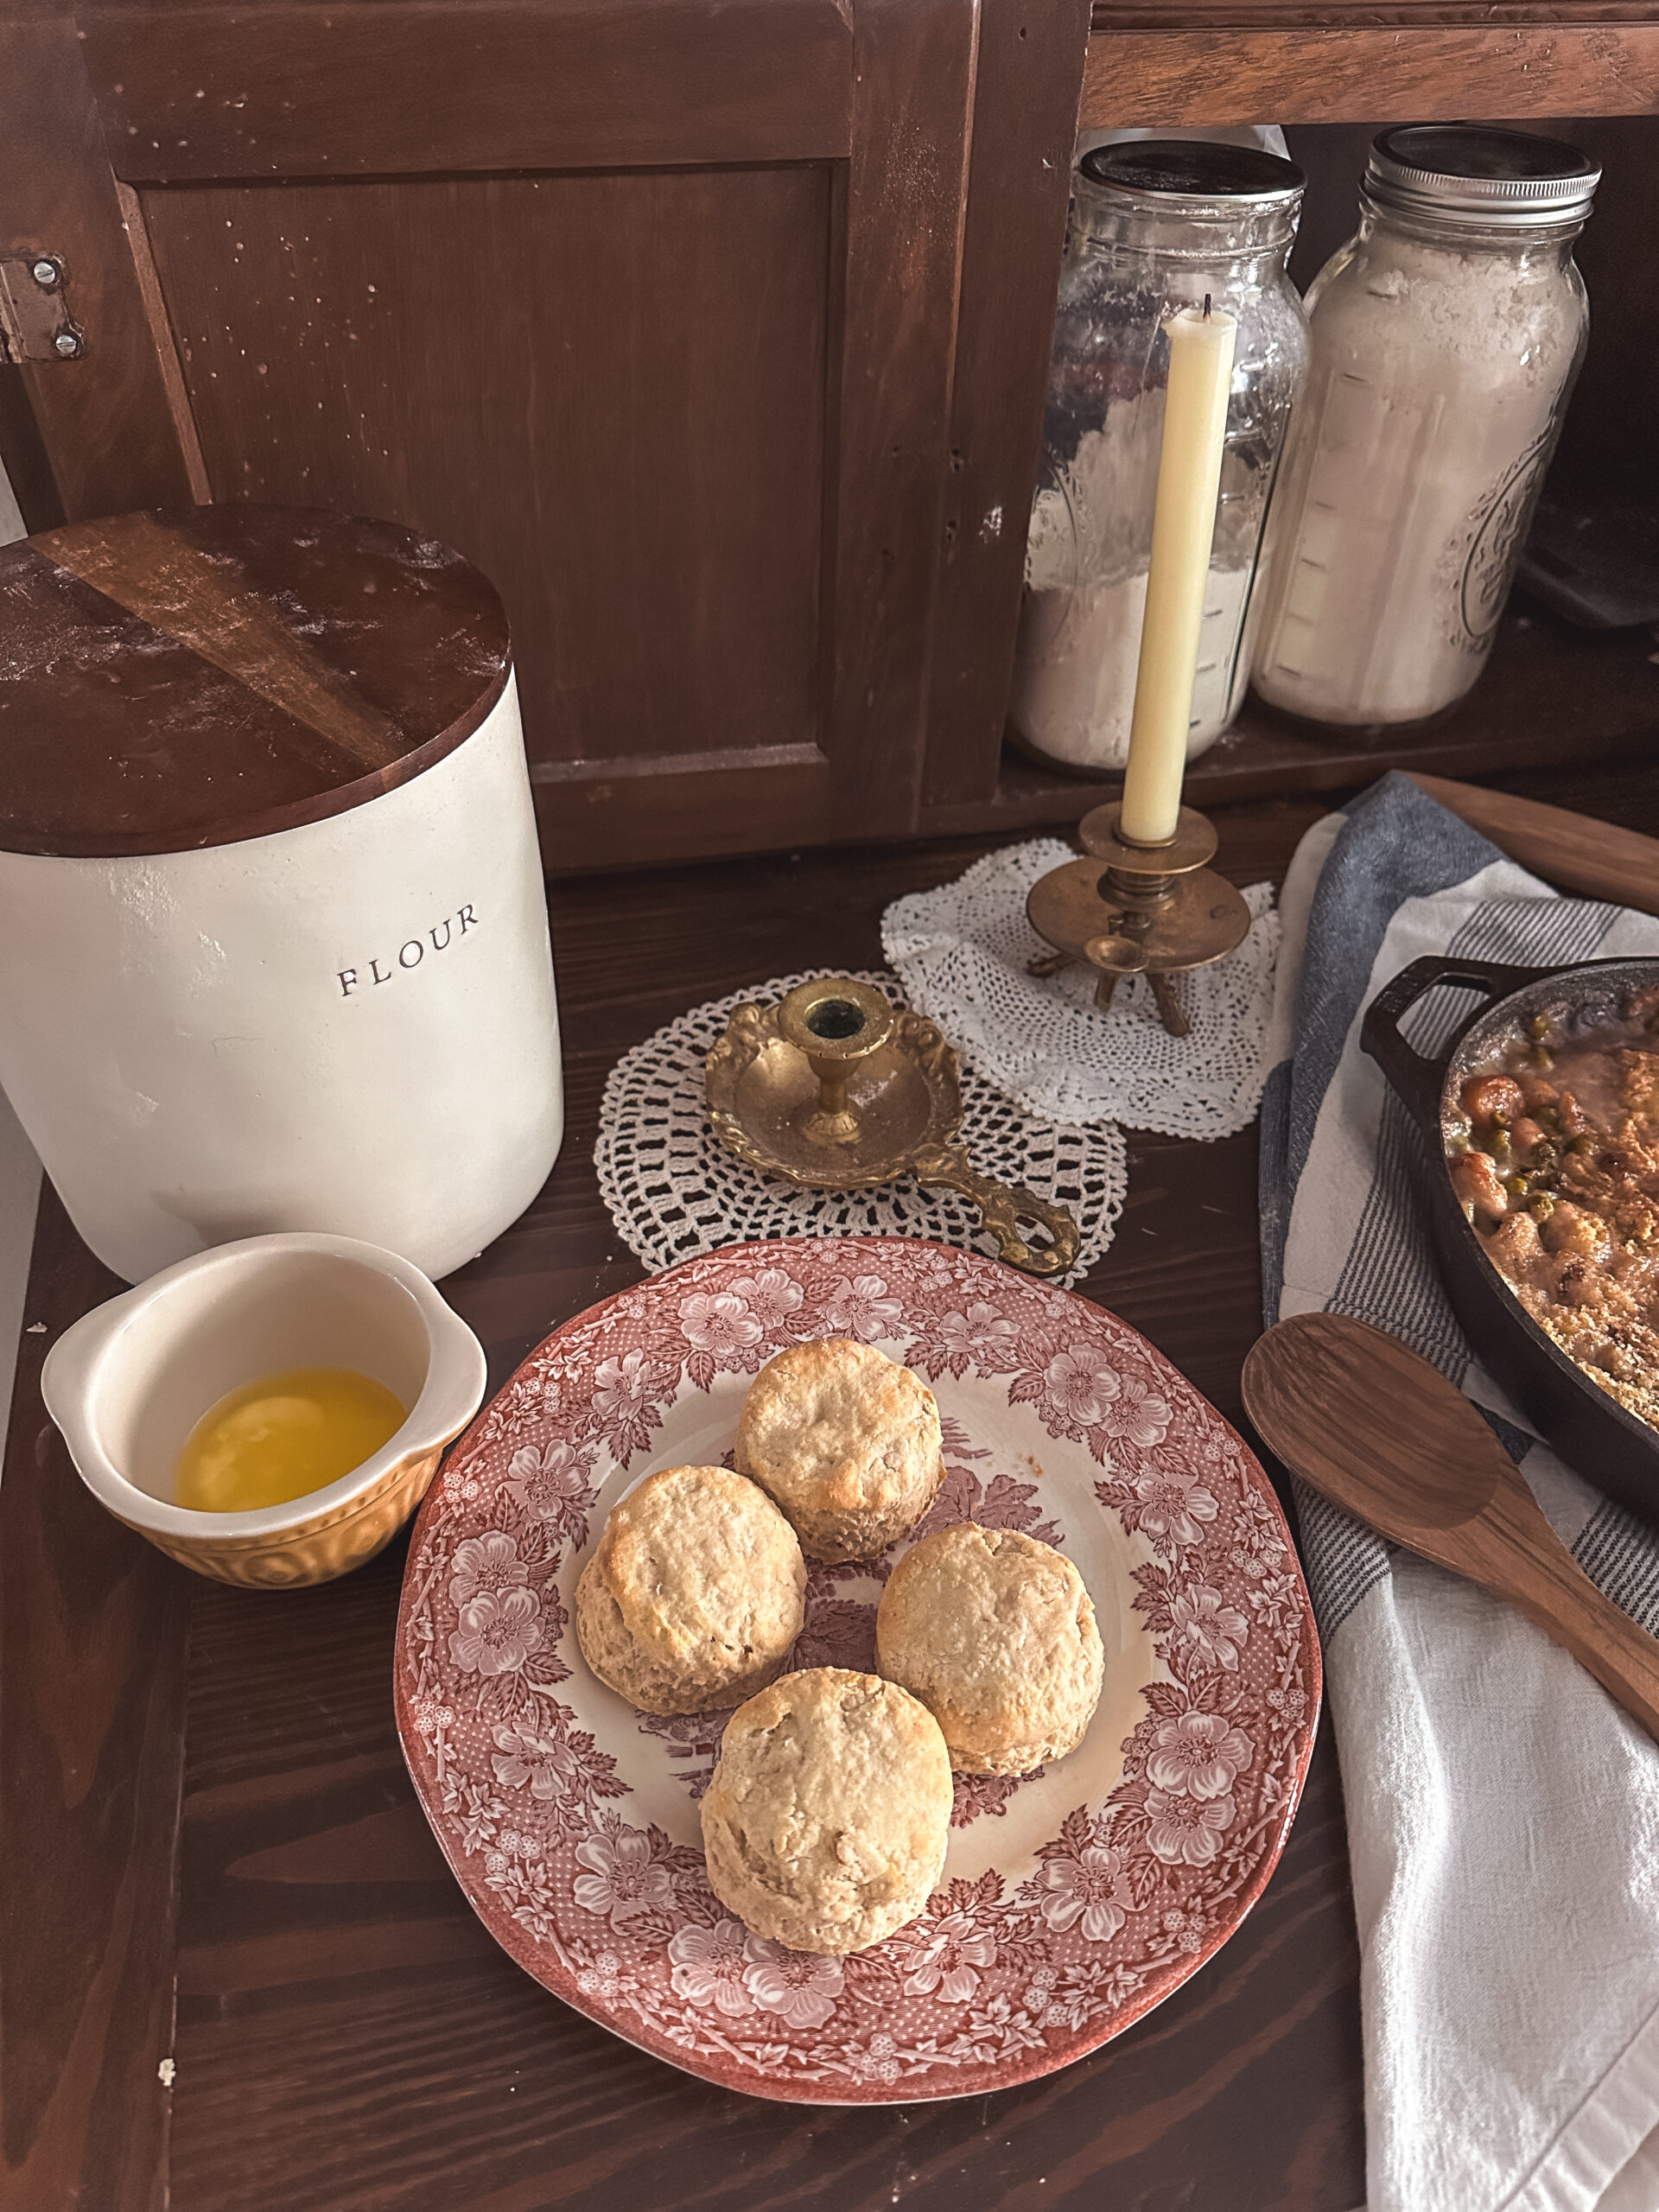
- Easy Homemade Biscuits: Quick & Delicious Recipes for Beginners

- Soft Dinner Rolls: Your Guide to Fluffy, Perfect Bakes

- How to Knead Dough: A Step-by-Step Guide for Perfect Bread

- SALT & STONE Deodorant Review: A Natural Deodorant?
- Sandwich Bread Recipe: The Perfect Loaf for Your Daily Sandwiches
Key Takeaways
The proofing process plays a crucial role in the art of sourdough bread-making. It can significantly impact the fresh sourdough bread that we are putting so much time into making. Baking your own bread is my favorite homemaking
skill. The overall process is so much fun, and what better way to show your family you care than to serve a loaf of freshly baked bread? Although it is intimidating, the most important thing to remember is that it’s just bread. The good
news is that you can try again and again. Whether it’s an early morning bake or an overnight proof, keep baking until you have mastered this wonderful skill. The best way to learn is to keep messing up. You will perfect your final rise
as you become a home baker. You will learn your ideal temperature of the room within your home to get the sweet spot rising time.
So, go try those bread recipes and sourdough recipes! Happy baking!
This post was all about how long to proof sourdough at room temp.
Get all of my sourdough supplies here
This post does contain affiliate links
Explore Reader
SHOP
Fitbit Versa 2 Health & Fitness Smartwatch
SHOP
Bamboo Nesting storage boxes
SHOP
Ilia Super Serum Skin Tint SPF 40
SHOP
Ninja Max XL Electric Air FryeR
SHOP
Cuisinart 15-Piece Knife Set with Block
SHOP
Muse Bath Apothecary Hand Ritual
SHOP
Martha Stewart 100% Cotton Bath Towels
SHOP
Eozlink Fluffy Fur Slides
Leave a Reply Cancel reply
Watch me clean my home




Be the first to comment