Join the course
Humblebrag raclette put a bird on it blog, fam hexagon jianbing neutra godard plaid scenester.
Homesteading 101 Starter Course
Family
Free Guide
Courses & Guides
shop with me
FAVE LINKS
Low Toxic Living
Homesteading
Homemaking
Recipes
Topics
I’m a homesteader, homemaker, milkmaid, and bread baker! This is my very own slice of the internet, dedicated to inspiring you to live old fashioned in today's modern world. I’m so excited you’re here, and can’t wait to connect with you.
How to make Strawberry Jam with only 3 Ingredients (without Pectin)
If it’s strawberry season or you’re just looking for a fun and super easy jam to make, then my 3 ingredient strawberry jam without pectin is what you should make this spring. Who doesn’t love homemade jam?!
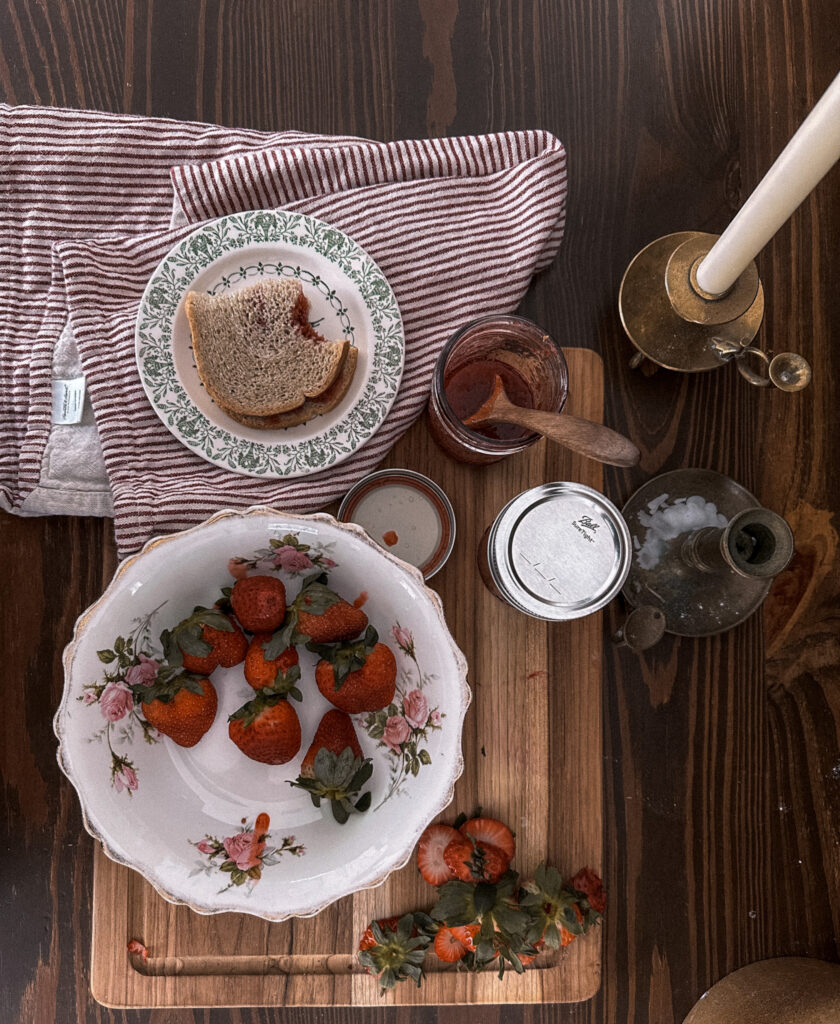
Why Strawberry Jam?
I live in Florida, and if you didn’t know, we Floridians looooove strawberries! We even have a huge festival every year that people from all over the world (literally) come to. So, we take the strawberries pretty seriously around here and don’t let any go to waste. This old-fashioned strawberry jam is lovely on morning toast or pancakes. I will even eat a spoonful for a sweet treat!
You’re able to make this strawberry jam and put it in the refrigerator for up to a month. But if you have pounds of berries, you’re going to want to pressure can them to save them for 18 to 24 months to come at room temperature. I’ll give you the canning instructions and then the jam recipe so you will be more than prepared to make old-fashioned strawberry jam from scratch!
What is Pectin?
Before jumping into the recipe, let’s talk about pectin. Pectin is a natural, complex starch derived from fruits such as apples and citrus fruits used to gel jams and jellies.
Strawberries are naturally rich in pectin, that’s why we don’t need to add any additional pectin to this recipe.
How to can your strawberry jam
Although this post isn’t about how to can, I’ll give you the basic run down.
You need to sterilize your glass jars. Gently set them in your boiling water in your canning pot. I got all of my supplies here. Don’t forget to place your canning rack on the bottom! This is important because the jars could break. I will let my jars boil until I am ready to use them while my lids and rings are in hot water (not boiling). The magnetic wand is a great tool to get them out of the hot water.
Once your jam is finished (recipe below) you are going to pour it into the jars using your funnel for a mess-free pour.
Make sure there is 1/4 of space left at the top by using your measuring stick.
Before you put the lid on, use your bubble popper to remove any air bubbles by running it along the sides of the jar.
Wipe the edge of the jar with vinegar and place the lid and ring on, tight but not too tight.
Place the jars in the boiling water and place your lid on, boil for 10 minutes if your elevation is below 6,000 feet. If your elevation is above 6,000 feet, add 5 minutes for a total of 15 minutes. Make sure that the top of the jars is covered with at least 4 inches of water.
After 10 minutes, turn off your stove top and let the jars sit for 5 minutes in the water as it cools down. You can take them out after 5 minutes and place them on a cooling rack or a tea towel on your counter.
My favorite part, listen for those popping sounds to hear if your lids are sealed!
You just canned your homemade old-fashioned strawberry jam!
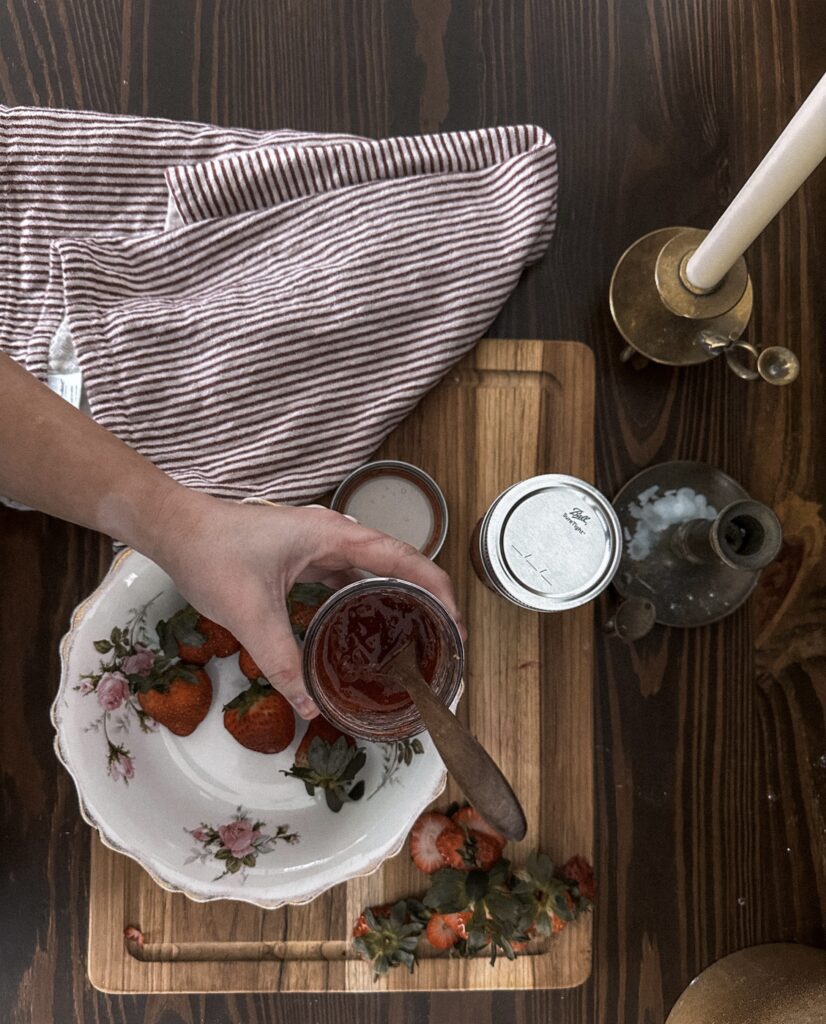
Old-Fashioned Strawberry Jam Recipe
Ingredients:
- 5 lbs strawberries
- 4 cups of sugar
- 1/2 cup of lemon juice
Instructions:
- Wash your berries and start slicing them.
- Combine your strawberries, sugar, and lemon juice. Mash the strawberries as much as you’d like until you like the consistency of them. I like my jam with chunks of the fruit so I didn’t mash them completely.
- Stir until the sugar is dissolved and then increase the heat and bring it to a boil. Continue to stir it until it reaches 220 degrees Fahrenheit. It will take about 30 minutes.
- Pour the jam into your jars, carefully.
- If you’re NOT canning, you can let them cool and stick them in the refrigerator. If you are canning, follow the canning instructions above!
Your strawberry jam is finished! I hope you enjoy this post and love this sweet treat.
Happy Homesteading!
Explore Reader
SHOP
Fitbit Versa 2 Health & Fitness Smartwatch
SHOP
Bamboo Nesting storage boxes
SHOP
Ilia Super Serum Skin Tint SPF 40
SHOP
Ninja Max XL Electric Air FryeR
SHOP
Cuisinart 15-Piece Knife Set with Block
SHOP
Muse Bath Apothecary Hand Ritual
SHOP
Martha Stewart 100% Cotton Bath Towels
SHOP
Eozlink Fluffy Fur Slides
Leave a Reply Cancel reply
Watch me clean my home


Be the first to comment